
Managing users efficiently is crucial for any membership site. Whether you’re migrating from another platform, onboarding hundreds of students, or managing access across courses, BricksMembers provides powerful tools to handle users and content at scale.
What you’ll learn:
- Assign/remove levels for individual users
- View users by level
- Import users from CSV files with automatic level assignment
- Export user data for backups or migrations
- Bulk assign levels to content (posts, courses, lessons)
- Best practices for user management
Prerequisites:
- BricksMembers installed and activated
- At least one user level created
- Administrator access to WordPress
Time to complete: 30-45 minutes
Part 1: Managing Individual Users
Individual user management is handled through the standard WordPress Users page, with BricksMembers adding a “BricksMembers” section to the user edit screen.
Assigning Levels to a Single User
- Go to Users → All Users in WordPress
- Click Edit on the user
- Scroll to the BricksMembers section
- Check the levels you want to assign
- Click Update User
Result: The user now has access to all content requiring those levels.
Removing Levels from a User
Follow the same steps above, but uncheck the levels you want to remove.
Important: Removing a level immediately revokes access to all content requiring that level.
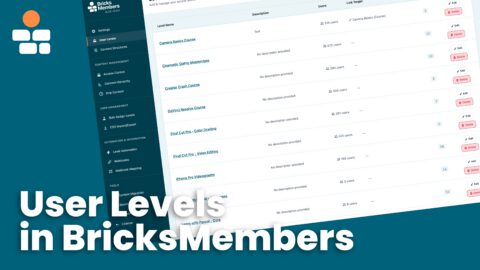
Viewing Users by Level
To see which users have a specific level:
- Go to BricksMembers → User Levels
- Click Edit on the level you want to check
- Expand the Users with this Level section
- You’ll see:
- User list with avatars, names, emails
- WordPress roles
- Level assignment dates
- Quick links to edit each user
Part 2: CSV Import and Export
CSV import/export is essential for migrations, backups, and integrations with external systems.
Exporting Users to CSV
Use cases:
- Backup user data
- Migrate to another platform
- Analyze user data in Excel/Google Sheets
- Share user lists with team members
Steps:
- Go to BricksMembers → CSV Import/Export
- Scroll to the Export Users section
- Click Export Users CSV
What’s included in the export:
WordPress User Data:
- User ID, username, email
- Display name, first name, last name
- Registration date
- WordPress roles and capabilities
- All custom user meta fields
BricksMembers Data:
- User Levels (both names and IDs) – which levels the user has
- Completed Posts (brm_completed_posts) – lesson/content completion timestamps (requires Progress Tracking)
- Level Assignment Dates (brm_level_dates) – when each level was assigned/removed (important for drip content with “level assigned” trigger)
- Drip Unlocks (brm_unlocks) – preserved unlock timestamps (only exported when drip is in “Preserve Previously Unlocked Content” mode)
Note: BRM progress data (aggregated statistics) is NOT exported because it’s automatically recomputed from completed posts when you import.
Result: A CSV file downloads with all user data.
File name format: bricksmembers-users-export-YYYY-MM-DD-HH-MM-SS.csv
Importing Users from CSV
Use cases:
- Migrate from another membership plugin
- Import existing users from a payment processor after setting up BricksMembers
- Bulk create users from a spreadsheet
- Restore users from a backup
Go to BricksMembers → CSV Import/Export. The page has two main sections: CSV Configuration and Import Users.
Step 1: Configure CSV Columns
Tell BricksMembers which columns in your CSV correspond to which user fields:
- Email Column (required): The column containing user email addresses
- Username Column: The column containing usernames (if empty, username is auto-generated from email)
- First Name Column: User’s first name
- Last Name Column: User’s last name
- User Level Trigger Column: The column that contains membership level information
Example CSV structure:
email,first_name,last_name,membership_level
john@example.com,John,Doe,Premium
jane@example.com,Jane,Smith,Free
Configuration for this CSV:
- Email Column: email
- First Name Column: first_name
- Last Name Column: last_name
- User Level Trigger Column: membership_level
Step 2: Configure Level Mapping
Map CSV values to BricksMembers levels. For each level, specify what CSV value should trigger that level assignment.
Example:
| BricksMembers Level | CSV Trigger Value |
| Premium Member | Premium or 123 |
| Free Member | Free or 124 |
| Course XZY | Course XZY or 125 |
How it works:
- If a CSV row has “Premium” in the membership_level column, the user gets the “Premium Member” level
- If a CSV row has “124”, the user gets the “Free Member” level
- Multiple levels can be assigned if the CSV value contains multiple comma-separated values
Step 3: Configure Import Options
- Default User Role: Select the WordPress role for imported users (usually “Subscriber” or “Student”)
- Name Split Field: If your CSV has a single “name” column instead of separate first/last names, specify it here to automatically split “John Doe” into first_name=”John”, last_name=”Doe”
- Custom Field Mappings: Map additional CSV columns to WordPress user meta fields (e.g., “phone_number” → “billing_phone”)
Step 4: Save Configuration
- Click Save Settings at the top of the page
- Your configuration is saved for future imports
Step 5: Import the CSV File
- Scroll to the Import Users section
- Click Choose File and select your CSV
- Important: Check Perform Dry Run to test without actually importing
- Click Import Users
What happens during import:
- For each CSV row:
- Checks if a user with that email exists
- If exists: Updates the user’s levels and meta fields
- If doesn’t exist: Creates a new user with a random password
- Assigns levels based on your trigger mappings
- Updates custom meta fields if configured
- Shows a summary: “Created: 50, Updated: 10, Skipped: 2”
Dry Run Mode: Always test with dry run first! It processes the CSV and shows what would happen without actually creating/updating users.
Step 6: Review Results
After import, you’ll see a summary:
- Created: New users added
- Updated: Existing users modified
- Skipped: Rows with invalid data (missing email, invalid format)
Verify the import by going to BricksMembers → User Levels, editing a level, and checking the “Users with this Level” section.
Understanding BRM-Specific Data in CSV
When you export users from BricksMembers, the CSV includes special BRM data columns that preserve user progress and unlock history. These are automatically imported when present – no configuration needed.
BRM Data Columns
- brm_completed_posts – JSON object mapping post IDs to completion timestamps
- brm_level_dates – JSON object tracking when each level was assigned/removed (important for drip content calculations)
- brm_unlocks – JSON object mapping post IDs to unlock timestamps (only when drip is in “Preserve” mode)
How it works: BricksMembers automatically detects these columns during import. No configuration needed – they’re imported automatically if present, preserving user progress and unlock history. If importing from a non-BricksMembers source, these columns won’t exist – that’s fine, users start with a fresh slate.
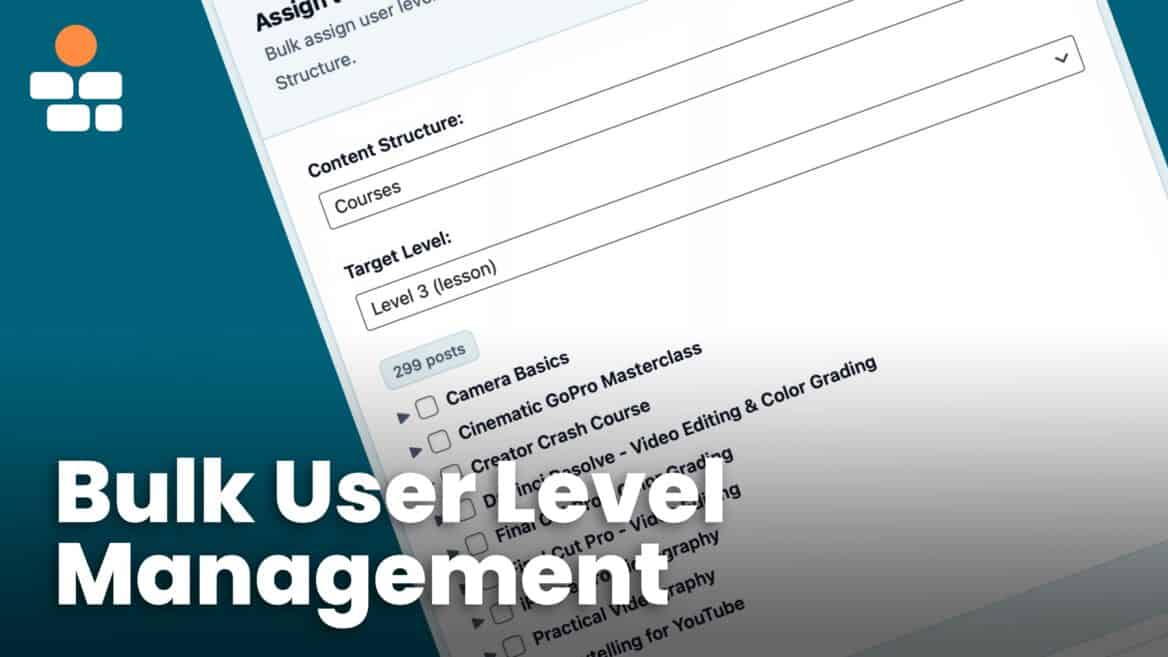
Part 3: Bulk Assign Levels to Content
The BricksMembers → Bulk Assign page allows you to assign user levels to multiple posts at once.
Option 1: Bulk Assign by Structure Parents
Scenario: Assign “Premium Member” to all lessons within a specific course.
Steps:
- Go to BricksMembers → Bulk Assign
- In the Assign to Posts by Structure Parents section:
- Content Structure: Select your structure (e.g., “Courses”)
- Target Level: Select the level you want to assign to (e.g., “Lesson” for lesson-level posts)
- Select the parent posts (e.g., specific courses or modules) — you’ll see a grouped list
- Check the posts you want to assign levels to
- In the User Levels section, check “Premium Member”
- Click Add User Level(s)
Result: All selected lessons now require “Premium Member” access.
Note: This is an alternative to using the Content Structure UI’s Quick Edit feature with “Apply level changes to all child posts”.
Option 2: Bulk Assign by Taxonomy Term
Scenario: Assign “Free Member” to all posts in the “Beginner Tutorials” category.
Steps:
- Go to BricksMembers → Bulk Assign
- In the Assign to Posts by Term section:
- Select Post Type: Choose the post type (e.g., “Post”)
- Select the Category taxonomy and “Beginner Tutorials” term
- Click Load Posts
- Select the posts you want to assign levels to
- Check “Free Member” in the User Levels section
- Click Add User Level(s)
Result: All selected posts now require “Free Member” access.
Option 3: Bulk Assign to Terms
Scenario: Protect categories or tags.
Steps:
- Go to BricksMembers → Bulk Assign
- In the Assign to Terms section:
- Select Taxonomy: Choose “Category”, “Tag”, or custom term
- Click Load Terms
- Select the terms you want to protect
- Check the user levels in the User Levels section
- Click Add User Level(s)
Result: Those terms (not the posts inside!) now require the selected levels for access.
Option 4: Bulk Assign by Post Relationship
Scenario: Assign levels to posts based on custom field relationships (e.g., ACF relationship fields).
Steps:
- Go to BricksMembers → Bulk Assign
- In the Assign to Posts by Relationship section:
- Select Post Type: Choose the post type
- Select the relationship field and parent post
- Click Load Posts
- Select posts and assign levels
- Click Add User Level(s)
Option 5: Bulk Assign by Related Taxonomy
Scenario: Assign levels to posts based on taxonomy relationships (ACF taxonomy relationship fields).
Steps:
- Go to BricksMembers → Bulk Assign
- In the Assign to Posts by Related Taxonomy section:
- Select Post Type: Choose the post type (e.g., “Course”)
- Select the taxonomy and term (e.g., Category → “Advanced”)
- Click Load Posts
- Select the posts you want to assign levels to
- Check “Premium Member” in the User Levels section
- Click Add User Level(s)
Result: All selected posts that are related to that taxonomy term now require “Premium Member” access.
Tip: This is useful when you have posts organized by a related taxonomy (categories, tags, custom taxonomies) and want to bulk assign levels based on that organization. It’s very rare, but happens.
Part 4: CSV Import Scenarios
Scenario 1: Migrate from Another Membership Plugin
Example: Migrating from MemberPress or Restrict Content Pro.
Steps:
- Export users from your old plugin (or use a database query)
- Format the CSV with columns: email, first_name, last_name, membership_level
- In BricksMembers → CSV Import/Export:
- Map the columns
- Set level mappings
- Check Perform Dry Run
- Click Import Users
- Review the dry run results
- Uncheck Perform Dry Run and import for real
Scenario 2: Import from Payment Processor
Example: Import customers from Stripe, Paddle, or PayPal.
Steps:
- Export customers from your payment processor
- If the CSV has a single “name” column instead of first_name/last_name:
- Set Name Split Field: name
- Set Delimiter: (space)
- This splits “John Wick” into first_name=”John”, last_name=”Wick”
- Map the plan/subscription column to levels
- Import with dry run first, then import for real
Scenario 3: Import Users with Multiple Levels
Example: Some users have multiple membership levels.
CSV format:
email,levels
john@example.com,"Premium,WordPress,VIP"
eve@example.com,"Free"
Configuration:
- User Level Trigger Column: levels
- Level Mappings:
- Premium Member → “Premium”
- WordPress → “WordPress Course”
- VIP Member → “VIP”
- Free Member → “Free”
How it works: BricksMembers splits the “levels” column by commas and assigns all matching levels to the user.
BRM-Specific Data in CSV Files
When you export users from BricksMembers, the CSV automatically includes special BRM data columns that preserve user progress and unlock history. When you import these CSVs, this data is automatically restored – no configuration needed.
What BRM Data is Included
- brm_completed_posts – JSON object mapping post IDs to completion timestamps (e.g.,
{"123":1698765432,"456":1698765500}) - brm_level_dates – JSON object tracking when each level was assigned/removed (e.g.,
{"1":{"assigned":1698765432,"removed":null}}) - brm_unlocks – JSON object mapping post IDs to unlock timestamps (only when drip is in “Preserve” mode)
Part 5: Best Practices
Practice 1: Always Use Dry Run First
Before importing hundreds of users, always test with dry run mode to prevent problems.
Practice 2: Backup Before Bulk Operations
Before bulk removing levels or importing users:
- Export current users to CSV (backup)
- Perform the operation
- If something goes wrong, you can restore from the backup without needing to restore the whole database
Practice 3: Use Content Structure UI for Content
For assigning levels to course content, the Content Structure UI’s Quick Edit and Quick Add features are usually faster than the Bulk Assign page:
- Select the new page in the WP sidebar that appears after creating a content structure
- Quick Edit → “Apply level changes to all child posts”
- Quick Add → “Inherit required levels from parent”
Practice 4: Clean Your CSV Data
Before importing:
- Remove duplicate emails
- Validate email formats
- Remove empty rows
- Ensure consistent column names (case-sensitive)
- Use UTF-8 encoding
Practice 5: Document Your Level Mappings
Keep a document of your CSV-to-BricksMembers level mappings for future reference and troubleshooting.
Part 6: Common Issues and Solutions
Issue 1: CSV Import Shows “0 Created, 0 Updated”
Cause: Likely: email column not mapped correctly.
Solution:
- Check that your CSV has an email column
- Verify the Email Column setting matches your CSV column name exactly (case-sensitive)
- Ensure emails are valid (user@example.com format)
- Save configuration and try again
Issue 2: Users Created But No Levels Assigned
Cause: Level trigger mapping wrong not configured.
Solution:
- Go to BricksMembers → CSV Import/Export
- Scroll to User Level Mapping section
- For each level, set the trigger value that matches your CSV exactly (case-sensitive)
- Also check if the CSV trigger field is mapped correctly
- Click Save Settings
- Re-import the CSV
Issue 3: Import Skips All Rows
Cause: Invalid email format or missing required email column.
Solution:
- Open your CSV in a text editor, Google Sheets, or Excel
- Check the first row (headers) has the email column name you configured
- Check that all email values are valid (user@example.com format)
- Remove any special characters or spaces from column names
- Save as UTF-8 encoded CSV and try again
Part 7: Integration with Other Tools
Automate with Webhooks
Instead of manually importing users, you can automate level assignment with webhooks:
- Go to BricksMembers → Webhooks
- Create a webhook endpoint
- Configure field mapping to automatically assign levels when users purchase
- Connect your payment processor (Stripe, WooCommerce, etc.) to the webhook URL
See Webhooks and Field Mapping for details.
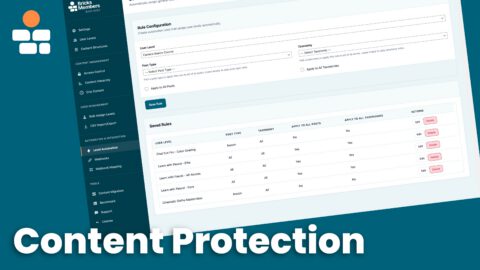
Level Automation
Automatically add or remove levels based on rules:
- Go to BricksMembers → Level Automation
- Create automation rules (e.g., “Add VIP level when you create a new post of na certain type”)
- Create posts and/or terms and the level will automatically be assigned
Summary
You’ve learned how to:
- ✅ Assign and remove levels for individual users via WordPress Users page
- ✅ View users by level via BricksMembers → User Levels
- ✅ Export users to CSV for backups and analysis
- ✅ Import users from CSV with automatic level assignment
- ✅ Configure field mappings and level triggers
- ✅ Bulk assign levels to posts by structure, taxonomy, or relationship
- ✅ Handle complex import scenarios (migrations, multiple levels, name splitting)
- ✅ Follow best practices for user and content management
